 RSS Feed
 Twitter
 2:56 PM
 Amelia
Hi ! how's you been doing this week? Did you remember when I said in the previous post that I began to love nail art? Yep, I even show you my milk strawberry nail art right? Do you like it?? Hope so *wink*
Today I finished another nail art. Tadaaa!!

I call this "Twinkle Flowers".
It has some cute little flowers and little dots that make my nails looks twinkling.
And I'm willing to share the tutorial now!
Tools I use are very simple and affordable!
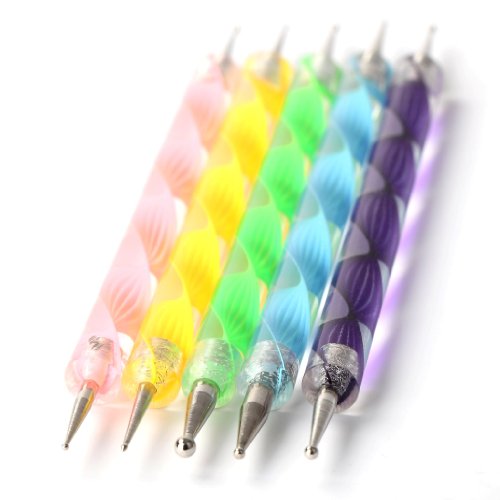
1. A Dotting tool. This tool has 2 heads, each with different sizes. So it's really handy. I only bought 1 and I plan to buy the whole set now :)

3. white and pink nail polish. I use very quick dry for pattern. Believe me, we don't want a long dry nail polish to make pattern as it will be harder to put layer on later. If your base is white, then you need white nail polish for the upper color of the flower. If your color base is pink, then choose pink nail polish. You can use same nail polish for your base and top flower.


FIRST, take the very basic step, cover your nail with base nail polish (let's use white).
If you think that the base is too transparent, put second layer or maybe third. It's up to you. I, myself, put 3 layer for my base since this twinkled series is very natural pink colour. Wait until the base dry (It's better to have the base dry before you make the pattern). Done? Now get ready for the twinkle tutorial!
1. Dap some of nail polish to the palette and dip the tip of your dotting tools to create the flower.


[A LITTLE TIPS]
* I put the dots on my 5 fingers before going to the next step (I say 5 fingers because I need my other hand to do the works). Since I use quick dry nail polish for the pattern, I can immediately do the next step on my first finger after finish the previous step. The first finger should be already half dry =)
* You can use combination of yellow-white, purple-white, red-white, or maybe yellow-orange! Come on give try and polish your nail =D
Now, time to say bye-bye. I have to get ready to the church!
Happy weekend everyone :) !
Don't forget to show off your nails!
Read more!
![]()


